How Do I Create a New Form?

You can create a form fairly easily, however, there are a lot of steps.
Note: This article explains how to create a new form Only If your website uses Forms. You can tell by looking at the WordPress, it will say Forms 
Creating a Form is done in 3 parts:
- Creating the Form Fields – Direct Link
- The form fields are the questions/fields that make up the form
- Creating the Form Confirmation – Direct Link
- The form confirmation is the confirmation message that appears as soon as the visitor submits their form by clicking the “Submit” button.
- Creating the Form Email Notification(s) – Direct Link
- The Form Notification(s) allow you to decide where the Form’s answers are sent to.
- Note: This is extremely important.
1. Here is how to create a new form and its fields:
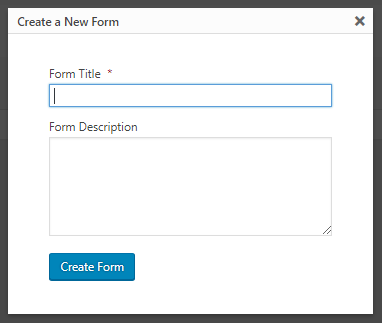
- Once logged in, hover over Forms and click New Form in the Dashboard menu.

- Type in the Form’s Title and Description (optional)
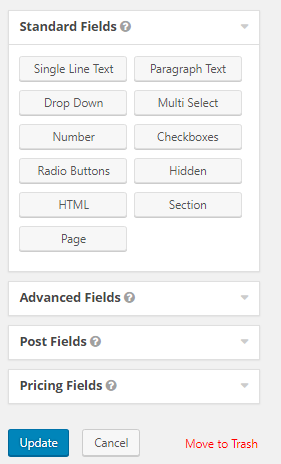
- Add fields by clicking on the wanted field on the right side.
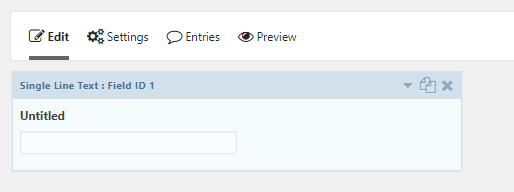
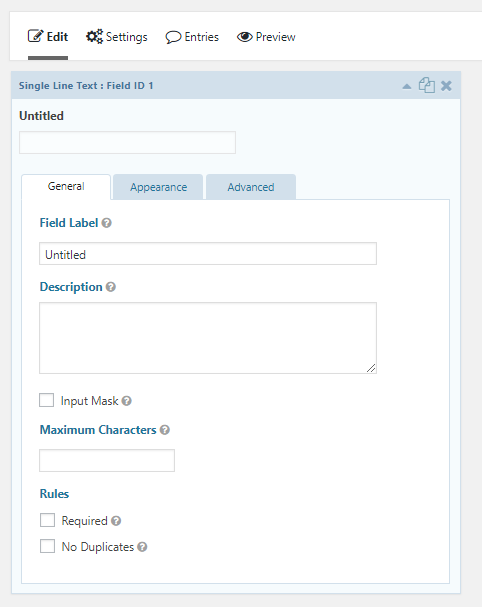
- To edit the field’s title and choices, hover over the field and click on the down arrow or click on the light blue area of the box.
- Edit the field as needed.
- Continue adding and editing fields until your form is complete.
- Make sure to add a CAPTCHA field (in Advanced Fields) to prevent spam
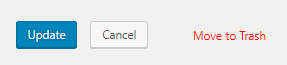
- Once your form is complete, click the blue Update button on the right side to save your changes.
- Next, we will update the Form Confirmation
Here is how to create the form confirmation:
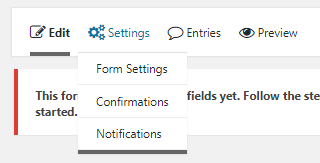
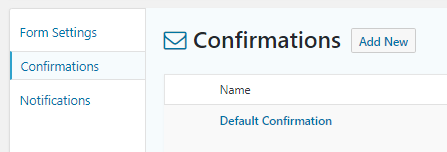
- Once editing the desired form, hover over Settings and click Confirmations.
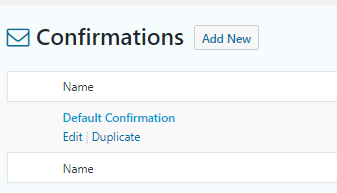
- Click on Default Confirmation to edit.
- Choose your Confirmation Type
- Text
Choose Text if you prefer the visitor to view a confirmation message with specific text/images that you can change in the visual editor.- Enter the text you would like the user to see on the confirmation page of this form.
- Page
Choose Page if you prefer the visitor to be redirected to a page within your website.- Select the page you would like the user to be redirected to after they have submitted the form.
- Redirect
Choose Redirect if you prefer the visitor to be redirected to a webpage of your choosing (via URL).- Enter the URL of the webpage you would like the user to be redirected to after they have submitted the form.
- Text
- Click the blue Save Confirmation to save your changes.
Note: You may have to scroll down to see the Save Confirmation button, as it is at the bottom of the page.
- For more information, click here
Here is how to create the form email notification(s):
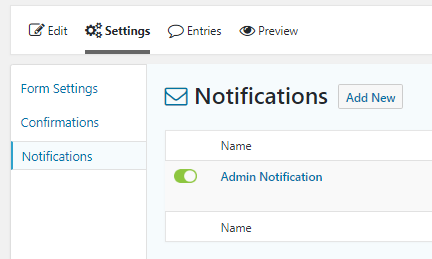
- While still on the Confirmations screen, click Notifications from the left side.
- Click on Admin Notification to edit.
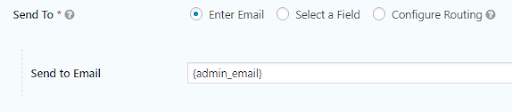
- The first and most important thing you need to change is the Send to Email. The email you put in will decide where the visitor’s form will be sent to once they submit the form. Change this from the Admin Email as this would go to Diocesan’s email.
- You may also edit the other fields. Below are examples and best practices of how to update those fields:
- Name
You may want to change the Name of the notification so that it is easily distinguishable without having to edit the notification. For example, you may want to change it to “Office Notification” or “Faith Formation Notification” so that it notes who the notification is sending to.
- From Name
The From Name is the name that will come through on the email copy of the form submission.
- From Email
The From Email is the email that the email copy of the form submission will look like it is coming from. If you leave it as {admin_email} the form will come from “webdepartment@diocesan.com”. You may leave this, as it will not affect you receiving your forms.
- Reply To
The Reply To is the email address any replies will go to.
So although you may get an email with the submitted form from webdepartment@diocesan.com, you can reply directly to the form in your email and email the form submitter (rather than replying to webdepartment@diocesan.com) by following the instructions below:
Note: You must have an email field (required) in your form before setting up an automated Reply To.- Click the arrow next to the Reply To empty field.

- Click on Email under Required form fields.
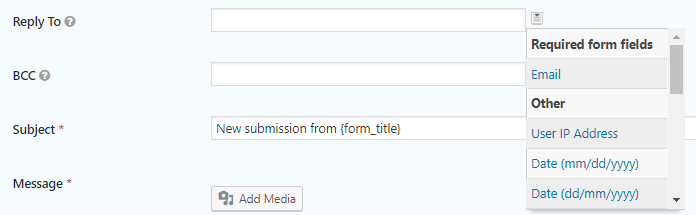
- You should now see {Email:#} in the Reply To field.

- Click the arrow next to the Reply To empty field.
- BCC
The BCC may be used if you’d like a copy of every form to be sent to a particular email. For example, you may want a copy of every form to go to the parish office, for your records.
- Subject
The Subject line may be edited if you prefer to use a more specific title.
- Message
The Message may be edited if you prefer to add in more specific information. For example, Diocesan now adds “Sent from the website of ____Catholic Church in City, ST” at the bottom of all forms we create. That way, if the email notification gets sent to the wrong email, it is traceable.
Note: By default, the message will have {all_fields} in the content. This means that the email will display all fields that the visitor submits.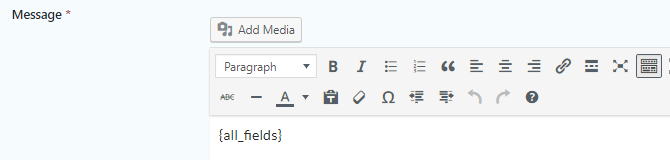
- Name
- When you are done editing the desired fields, click the blue Update Notification button to save your changes.
Note: You may have to scroll down to see the Update Notification button, as it is at the bottom of the page
- For more information, click here
By Cody Armock