How Do I Create a Password Protected Page?

You can create a password-protected page in a few short steps. By default, all of your website’s pages are visible to any visitor, but there may be instances in which you would like a page to be password protected. For example, you may have Safe Environment information specifically for adults and is sensitive, or pages that are specifically for a particular ministry such as meeting minutes or music for the choir for next week’s liturgy.
In these instances, a password-protected page can help you manage who is able to view the page’s information.
Here is how to create a password-protected page:
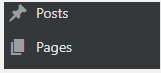
- Once logged in, click on Pages or Posts in the menu on the left-hand side of the Dashboard.
- Click Add New or click on the page or post you desire to edit.

- Locate the Status & Visibility dropdown under the Page/Post Settings sidebar box on the right side of the page.

- Click Public next to Visibility.
- Change the visibility from Public to Password Protected.

- Type in the password you desire.
NOTE: This password may be edited at any time.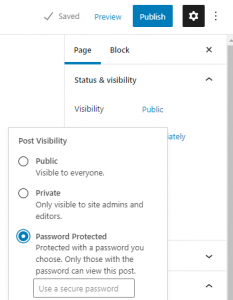
- Click OK.
- Click Publish or Update to save your changes.

by Cody Armock