How Do I Upload Documents to My Website?

You can upload your documents with ease. Uploading documents to your website’s Media Library will allow any visitors to view and download the files you provide. This can be extremely helpful for registration forms, liturgical ministry schedules, and much more.
While WordPress will accept several different file types such as Microsoft Word and Excel documents, the preferred file format for universal viewing by all website visitors is Adobe Acrobat (.PDF). This is due to the fact PDFs can be viewed without having to download and open the document.
Additionally, there are two different methods of uploading files:
- Upload while editing a page or post
- Upload directly to your media library
Here is how to upload documents to your website while editing a page or post:
- Once logged in, click on Pages or Posts in the menu on the left-hand side of the Dashboard.

- Click on the page or post you desire to edit.
- Place your cursor where you would like the document to appear.
- Make a new File block by either finding it in the list of all blocks or by typing “/file” in a blank Paragraph block. (If it is an image, use the Image block)
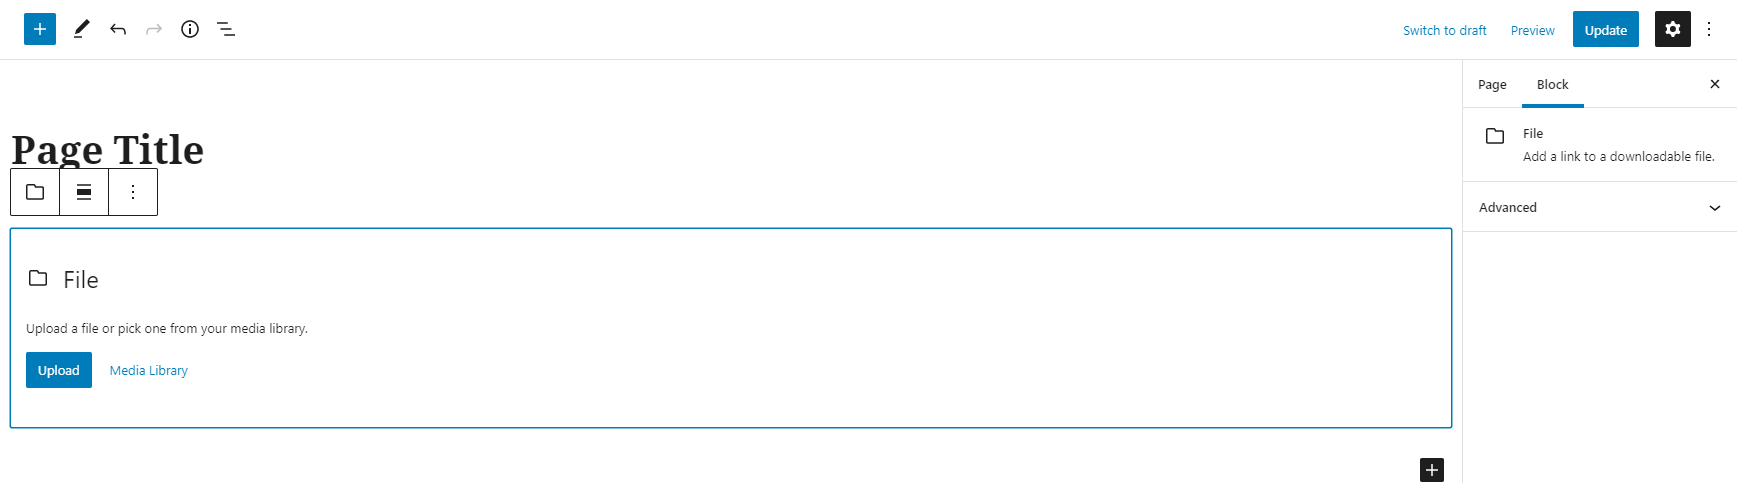
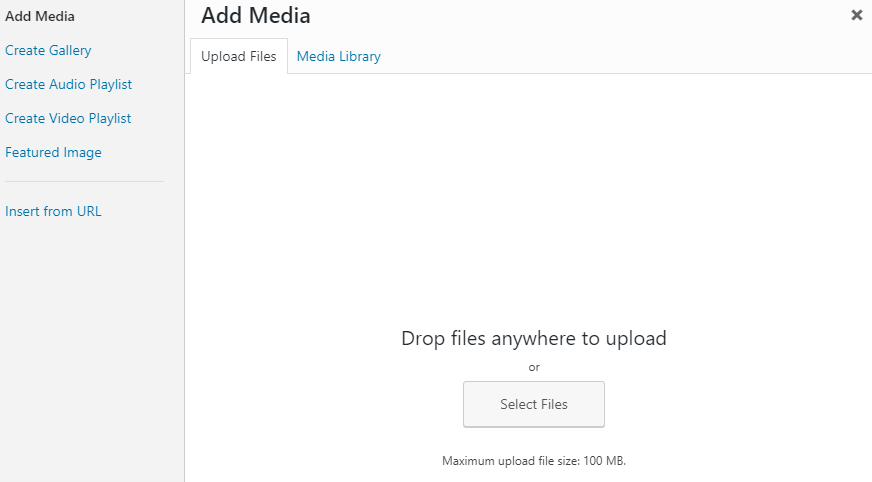
- If you have not already uploaded the document/image, take this time to upload the image by clicking Upload or do so from the Media Library
- Locate the file you desire to add and click on it.
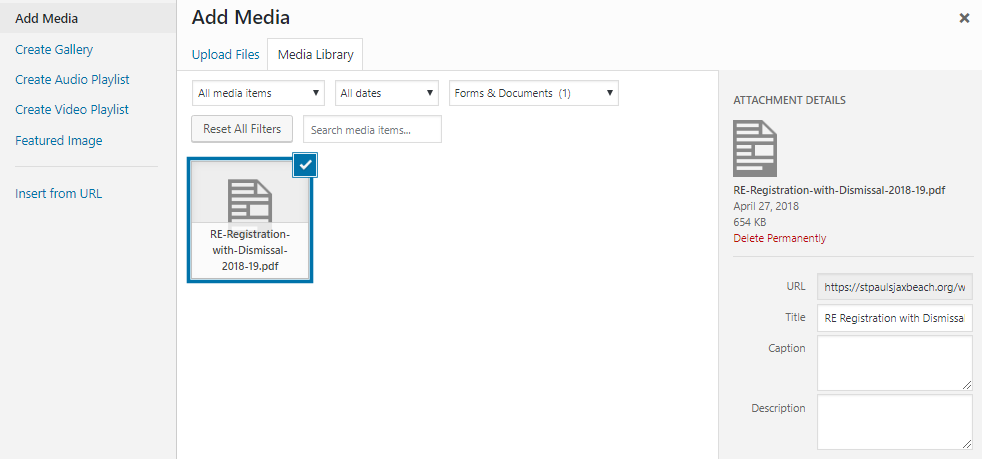
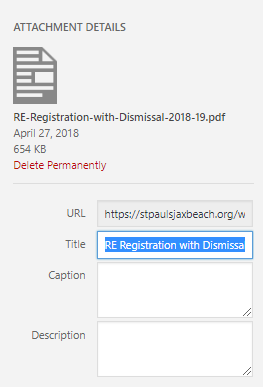
- The title of the file will determine what the title of the link is. Change the title of the file as needed or do so in the editor by selecting the title and typing something different
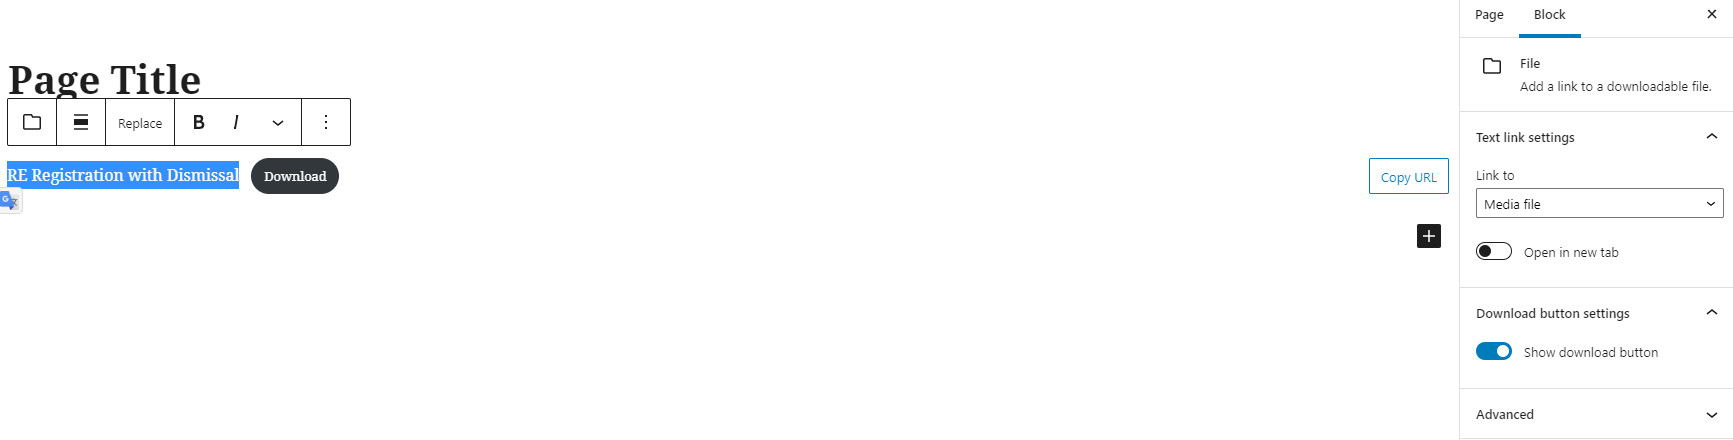
- Click Select in bottom-right, if in Media Library
- If using a File block, you can edit the settings on the right sidebar to open in a new tab or show/hide the download button. You can also edit the Download button text within the button itself.
- Click the blue Update or Publish button to save your changes.


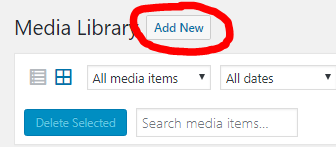
Here is how to upload documents to your website’s media library:
- Once logged in, click on Media in the menu on the left-hand side of the Dashboard.

- Click Add New.
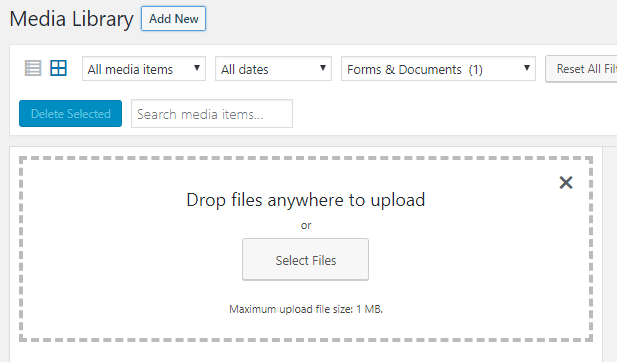
- Click Select Files to begin selecting which documents to upload.
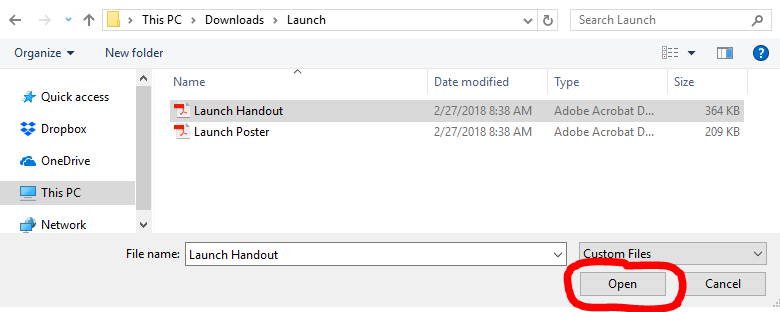
- Once you have selected files from your computer, click Open. This will automatically upload your file
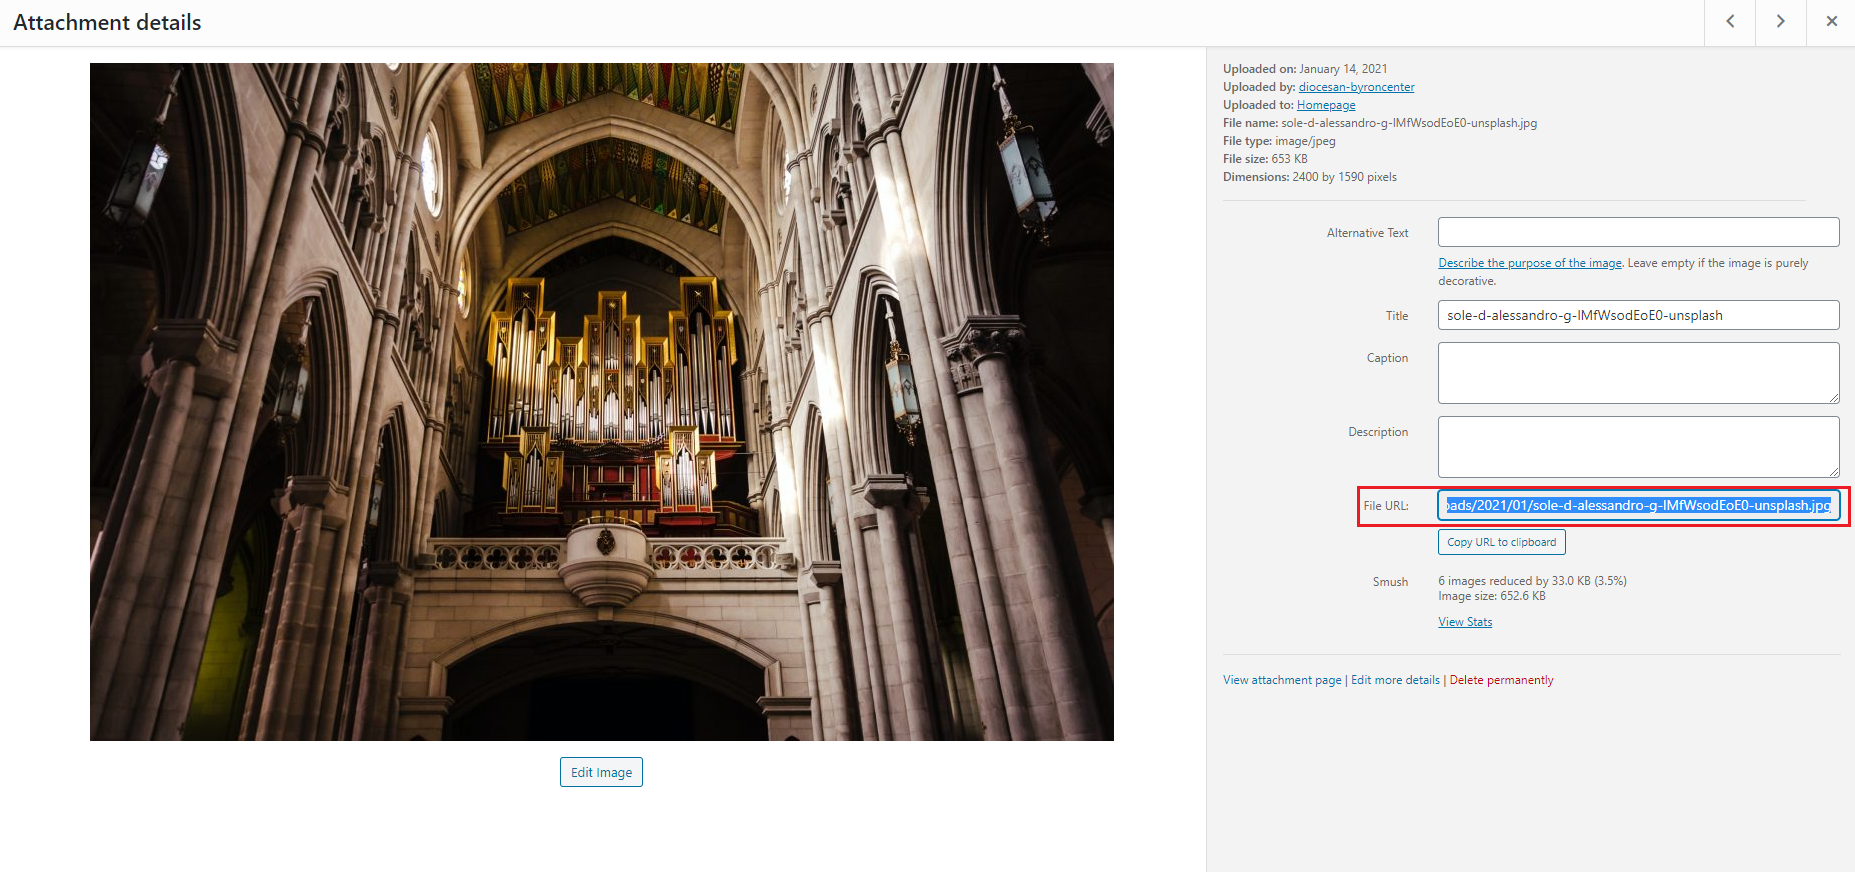
- You can link to this document by clicking on the now-uploaded document in the Media Library
- This will open the Attachment Details window from which you can select the File URL on the right-side and Copy the URL
- From here, you can go to a page/post and link some text or a block as usual.
by Cody Armock